How to Organize a Small Pantry on a Budget
A small pantry can feel like a losing game — the cans migrate, the spices bury each other, and something sticky is always leaking onto the shelf. But you don't need a remodel or a cart full of matching containers to fix it. This guide covers small pantry organization on a tight budget: measuring your space, zoning by category, stretching vertical space and the door, finding cheap containers, decanting only where it helps, labeling so it stays put, and a maintenance routine that keeps it from sliding back into chaos.
Step 1: Empty It Out and Measure Everything
Before you buy a single basket, take everything out of the pantry. Pile it on the kitchen table so you can see what you're actually storing — this almost always reveals duplicates, expired items, and three half-used bags of rice.
While the shelves are bare, grab a tape measure and note:
- Shelf depth, width, and height. Budget storage solutions live or die by shelf height — especially the gap between shelves.
- Door clearance. Check the space between the inside of the door and the shelves when closed. This decides whether you can add door storage.
Keep these measurements on your phone. Measuring first is the best way to avoid buying containers that don't fit — which is how pantries and budgets get ruined. Wipe down bare shelves with a damp cloth and a little dish soap.
Step 2: Sort and Purge
Now work through the pile on your counter, grouping items loosely by type — cans with cans, baking supplies together, snacks together. This preview of your categories makes zoning easier later.
Be honest about what stays:
- Toss anything expired or stale. Check dates on baking powder, spices, and oils — these go flat faster than you'd think.
- Toss mystery items you can't identify, and donate unopened goods you know you won't use.
- Consolidate duplicates. Four bags of flour become one to finish before buying more.
A smaller collection is easier and cheaper to organize. Every item you remove is one less thing competing for space.
Step 3: Zone Your Pantry by Category
Small pantries work best when every shelf has a job. Assign each shelf or section to one category:
- Everyday cooking (oils, salt, most-used spices, pasta) — keep these at eye level where you grab them most.
- Cans and jars — group together on a lower, sturdier shelf.
- Baking supplies — flour, sugar, baking soda, chocolate chips in one spot.
- Snacks and breakfast — cereals, granola bars, crackers on their own shelf.
- Backstock and bulk — extra cans, bulk bags, and rarely used items up high or down low.
Match categories to how you cook, not how a magazine pantry looks. If you never bake, skip the baking zone. When everything has a home, putting groceries away takes seconds, and you can see at a glance what needs restocking.
Step 4: Use Containers That Cost Little or Nothing
Containers are where pantry budgets die — unless you're strategic. You don't need a matching set, just a handful of the right shapes in the right sizes.
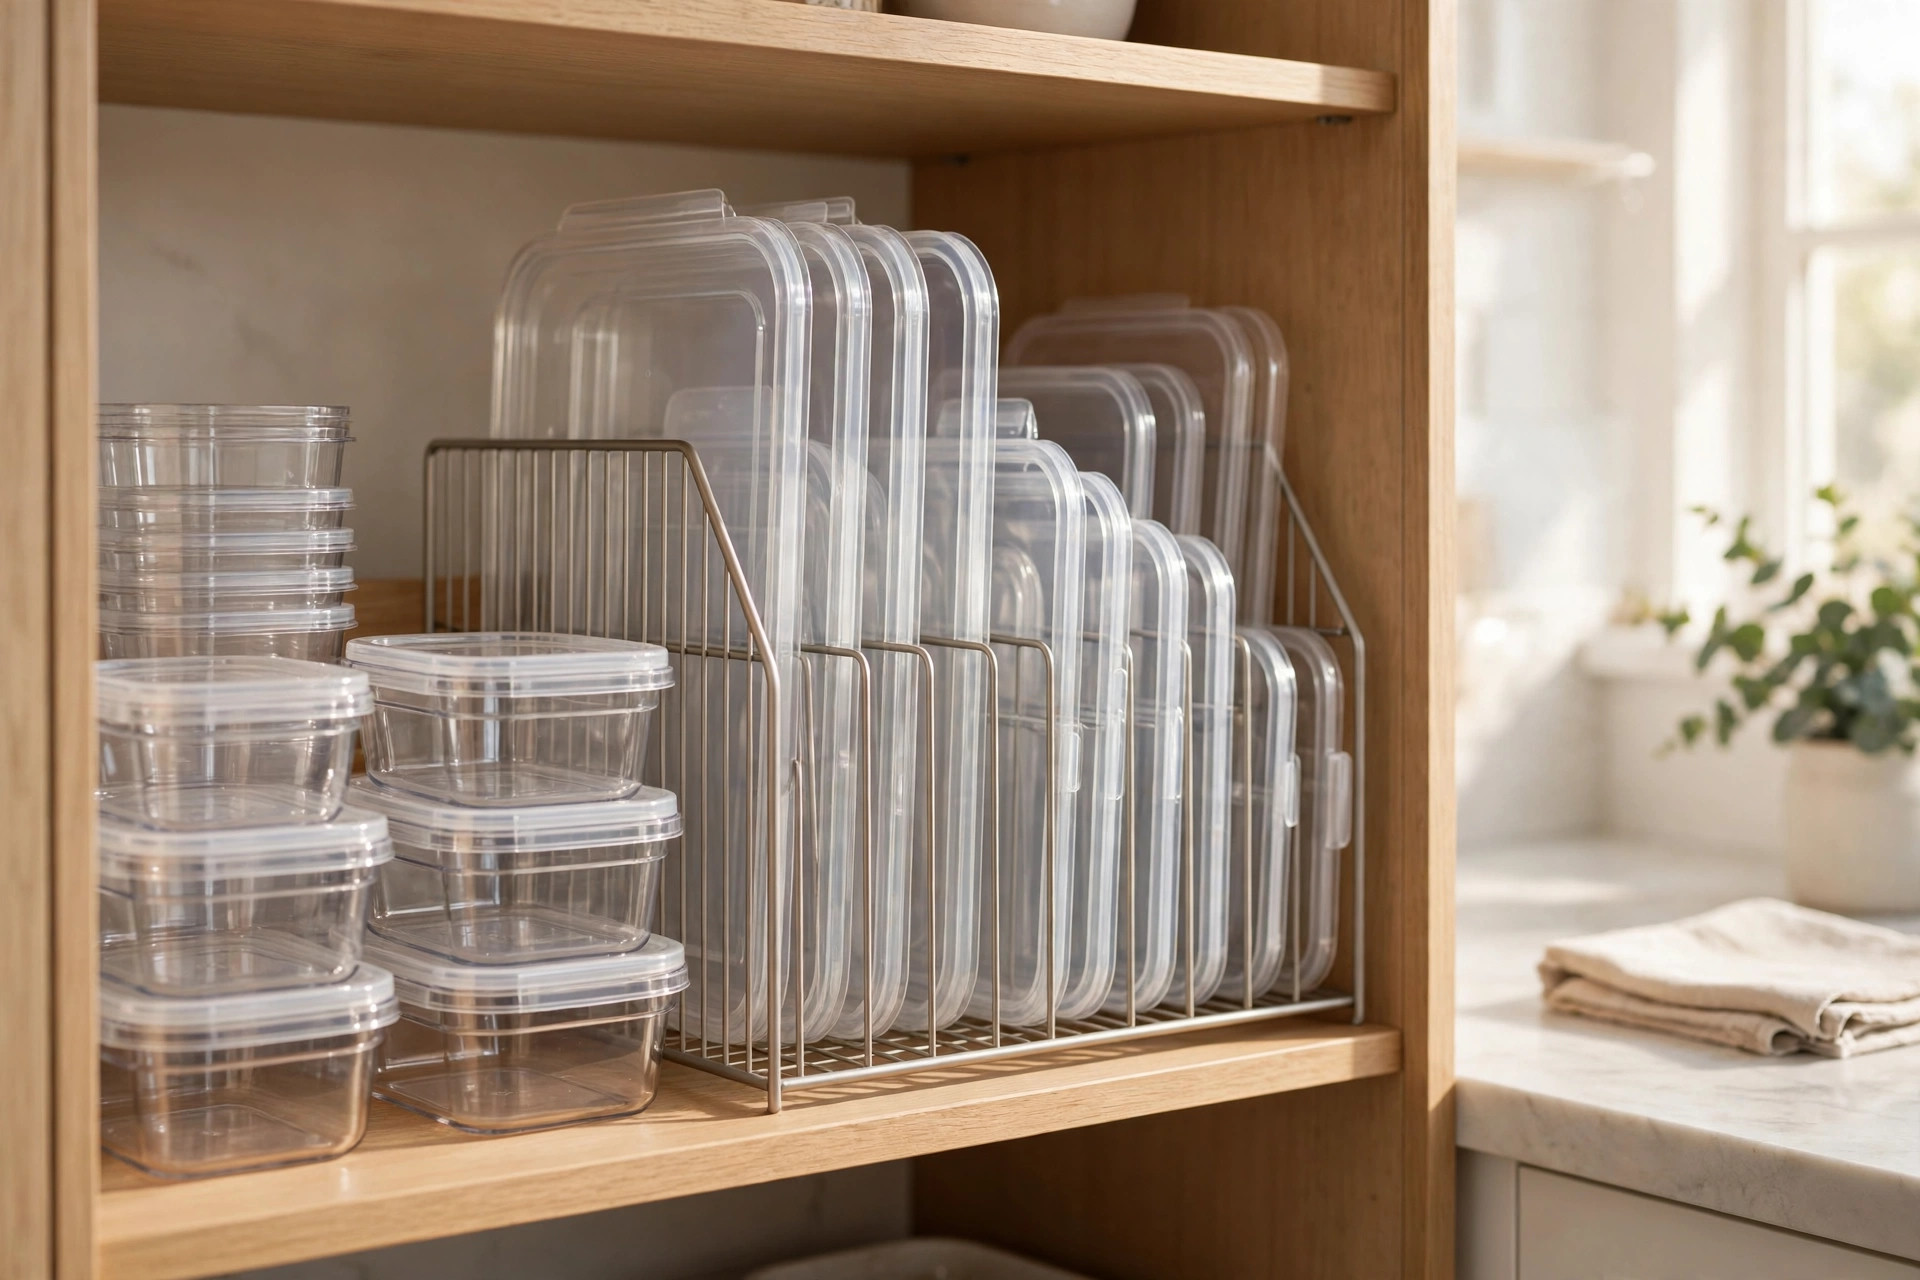
Dollar store and discount finds. Check dollar stores, discount chains, and thrift shops first for small stackable bins, clear plastic baskets, and turntables (lazy Susans). A dollar-store wire shelf riser can instantly double a short shelf.
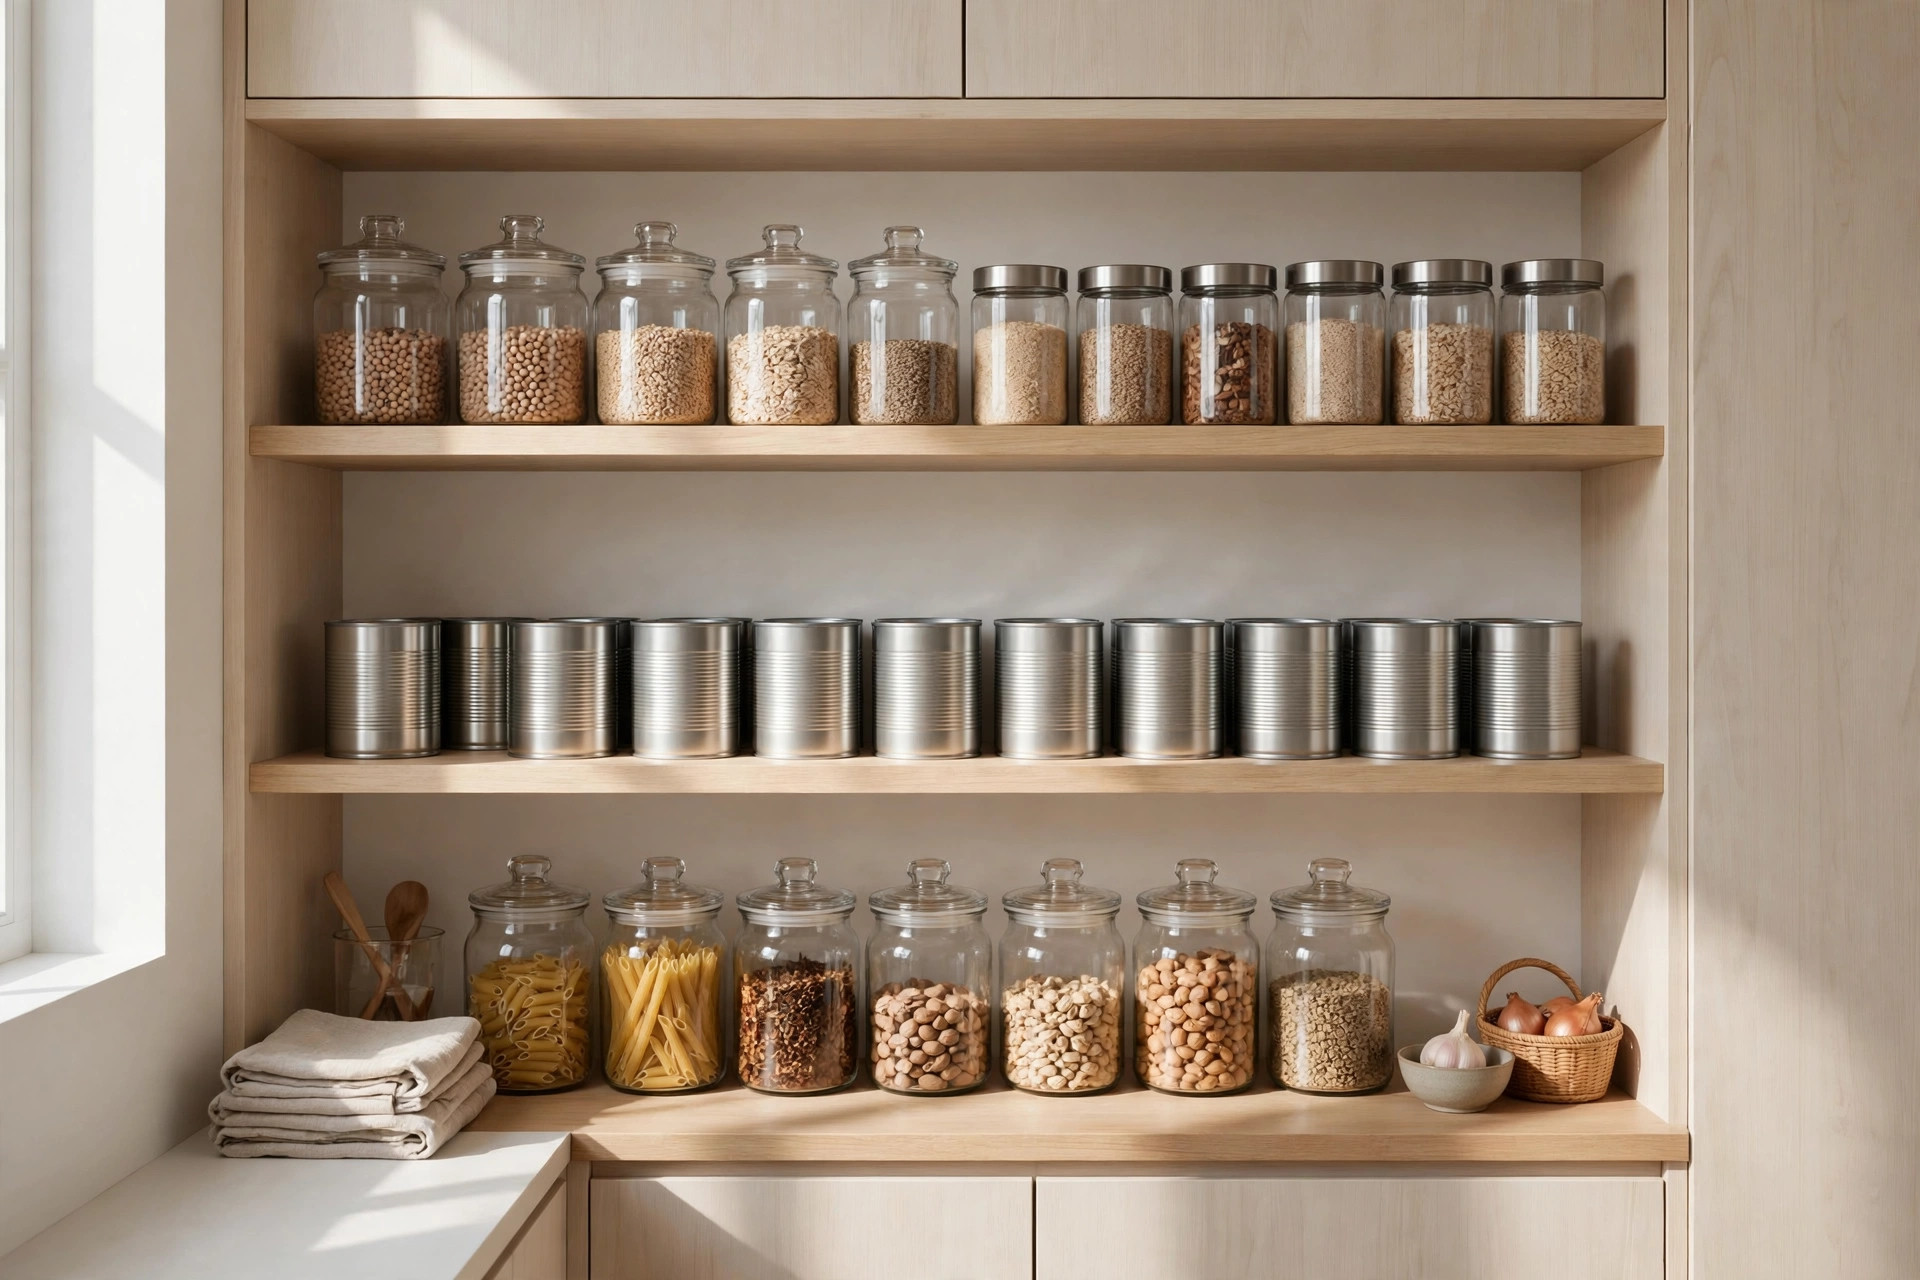
Repurposed jars. Pasta sauce jars, jam jars, and large pickle jars make excellent canisters for rice, beans, and sugar. Wash well, soak off labels in hot soapy water, and remove residue with a little oil or rubbing alcohol. Free, and glass shows contents at a glance.
What you already own. Sturdy shoeboxes or gift boxes can corral packets and snack bars — line them if you want a cleaner look. Mason jars, if you have them, are ideal for dry goods.
When to spend a few dollars. Prioritize one or two problem-solvers over a full set: a turntable for oils and vinegars, and a couple of stackable bins for a deep shelf. Clear or light-colored containers beat opaque ones because you can see what's inside without digging.
Step 5: Go Vertical and Use the Door
In a small pantry, the space between shelves is free real estate. Use it before spending on more shelving.
- Shelf risers create a second tier on tall shelves so cans and jars stack two high.
- Stackable bins let you pile snacks or packets upward instead of letting them sprawl.
- Under-shelf baskets hook onto the shelf above to hold wraps or small bags, using otherwise empty air.
- Tiered steps keep every row of canned goods and spices visible.
The pantry door is often the most underused space in the kitchen. An over-the-door wire rack or inexpensive adhesive hooks can hold spices, packets, or small bottles. Check your door-clearance measurement first, and keep door items slim so the door still closes.
If a shelf is adjustable, moving one up or down a few inches to match your actual item heights can free up surprising room — at zero cost.
Step 6: Decant Only Where It Helps
Decanting — pouring food out of packaging into containers — looks satisfying, but on a budget, be selective. Do it only where it saves space or keeps food fresh:
Worth decanting:
- Bulky bags of rice, flour, sugar, and oats into square or rectangular jars (square shapes waste less shelf space than round ones).
- Snacks from oversized boxes into a single bin — ditch the half-empty cardboard.
- Items prone to going stale, like cereal and crackers, into airtight containers.
Not worth decanting:
- Canned goods — the can is the container.
- Single-use packets and seasoning envelopes — just corral them in a small basket.
- Anything you'll finish within a week — the effort buys you nothing.
If you decant, keep the cooking instructions or expiration date: cut them from the box and tuck them inside the container.
Step 7: Label Everything So It Stays Organized
Labels are what turn a one-weekend project into a system that lasts. Without them, bins drift back into junk drawers within a month.
Budget labeling options that hold up:
- Masking tape and a marker — cheap, readable, easy to replace. Painter's tape looks cleaner.
- Chalkboard labels — reusable stickers you rewrite when contents change; a pack costs very little.
- Permanent marker on jars — works on glass, scrubs off with baking soda paste.
- Cut-out labels from the original packaging, taped to a bin's front.
Label zones too, not just containers. A strip of tape on the shelf edge reading "baking" or "snacks" tells everyone in the household where things belong — half the battle when you're not the only one putting groceries away.
Step 8: Build a Five-Minute Maintenance Routine
The best small pantry organization system is the one you maintain — and it takes almost no time once zones are set:
- One in, one out. When you buy a new jar of peanut butter, recycle the empty one first. This stops slow creep.
- Weekly tidy. While putting groceries away, take two minutes to push items back to their zones and toss anything stale.
- Seasonal reset. Every three to four months, repeat a quick Step 2: check dates, consolidate duplicates, wipe shelves. Twenty minutes keeps the system honest.
- Shop from the pantry first. Before writing a grocery list, scan your zones. Fewer duplicate purchases means less clutter and less spending.
Frequently Asked Questions
What's the cheapest way to organize a small pantry?
Declutter and zone with what you already own — shoeboxes, repurposed jars, and masking-tape labels cost nothing. If you spend anything, hit a dollar store or thrift shop for one or two problem-solvers like a shelf riser or turntable. Measuring first keeps you from wasting money on containers that don't fit.
How do I organize a really deep pantry without losing things in the back?
Use bins you can pull out like drawers — one per category. Keep backstock and rarely used items at the very back, everyday items up front. A turntable also helps on deep shelves: spin items forward instead of reaching past them.
Should I decant everything into matching containers?
No. Decant only bulky dry goods and stale-prone items where it saves space or keeps food fresh. Cans, packets, and anything you'll finish quickly can stay in their packaging.
How do I keep my pantry organized when others in the house don't follow the system?
Label zones and bins clearly so the system is obvious, and keep categories broad — a "snacks" bin is easier for everyone than five micro-categories.
How often should I reorganize my pantry?
Tidy weekly while putting groceries away, and do a deeper reset every three to four months to check dates and wipe shelves.